Need to connect Visual Studio Code to your on-premise Business Central? This step-by-step guide walks you through setup, debugging, and streamlining development. Whether you're customizing workflows or building extensions, the right integration saves time and reduces errors. Let’s simplify your development proces starting with VS Code.
The following VS code extensions are to be identified, installed and enabled in your visual studio code
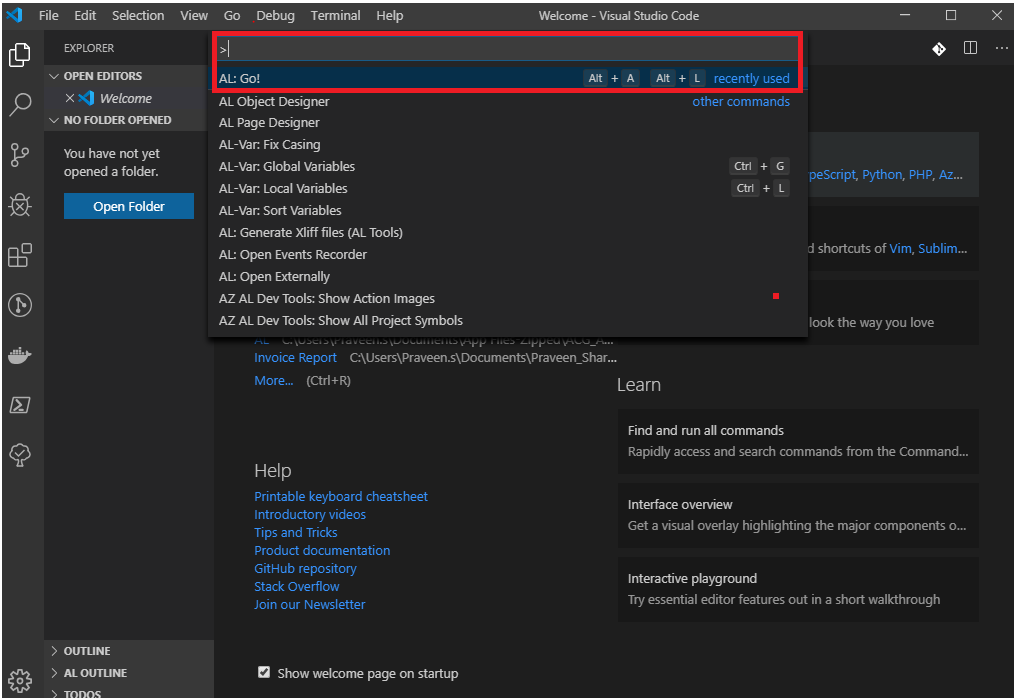
Step 2: Use shortcut key CTRL + SHIFT + P to open the command pallet. Search for the command AL: Go to open a new project
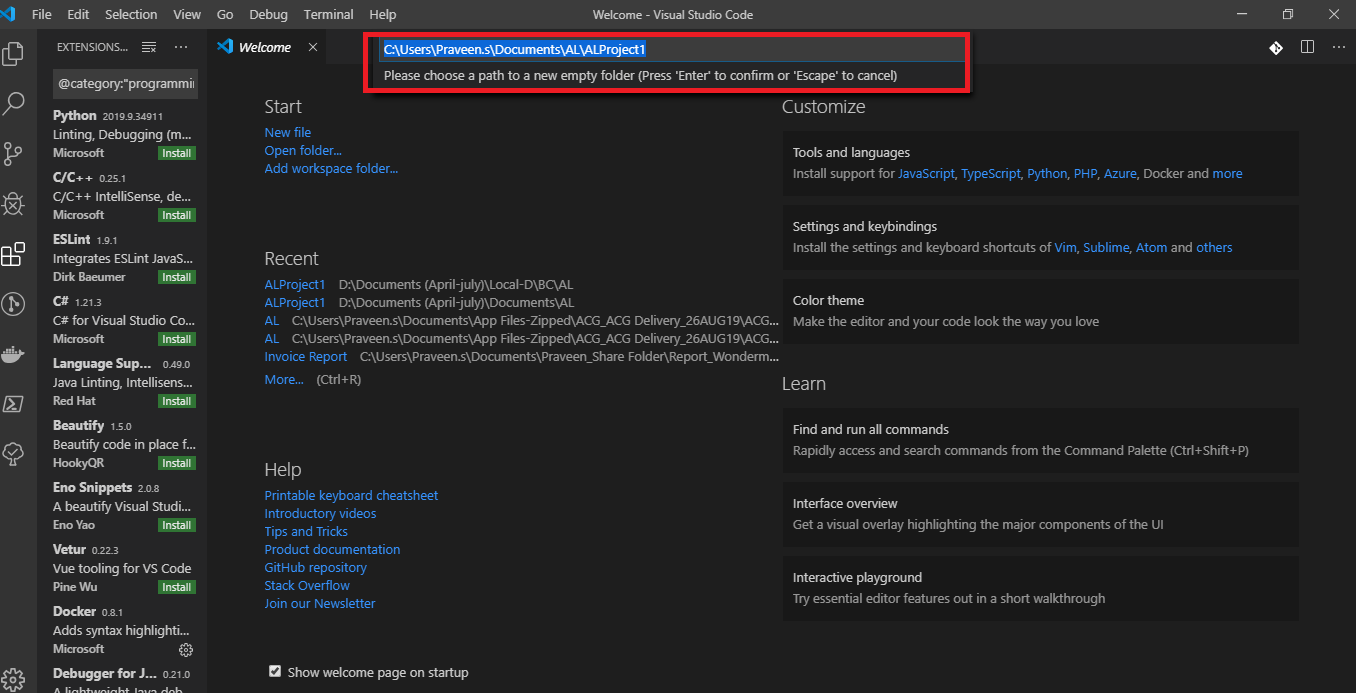
Step 3: Assign a name to your project. Each project will have app.json created which contains the version and page id of the project
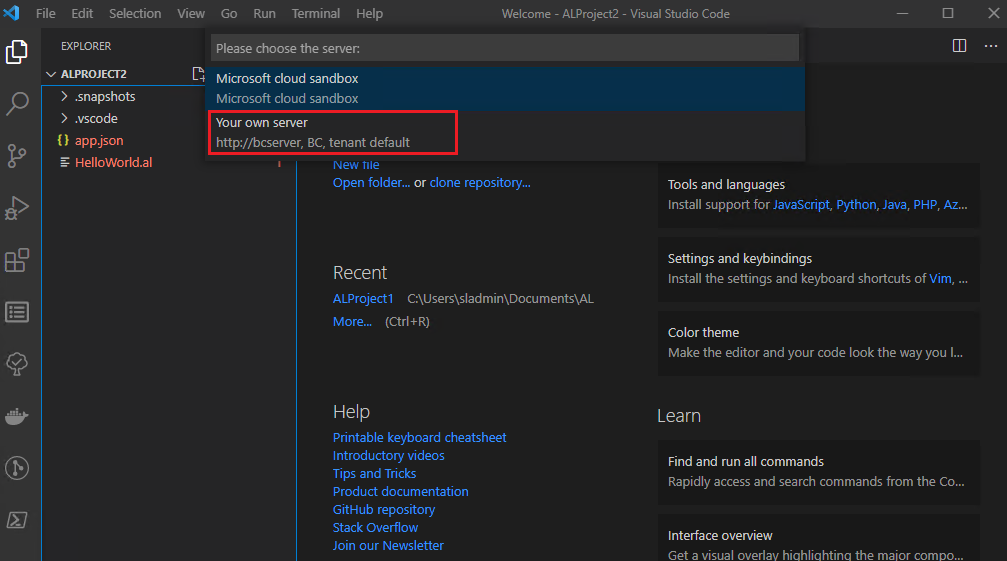
Step 4: Select server as Your own server. This will create launch.json which has the server details
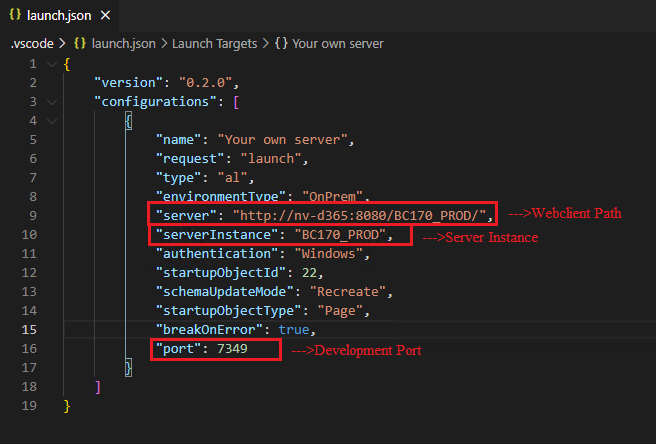
Step 5: Mention the server, server instance and port number of your server in launch.json
Note: The server, server instance and development port number of the server can be viewed in the business central administration tool.
Step 6: Enable the developer service endpoint in the administration tool
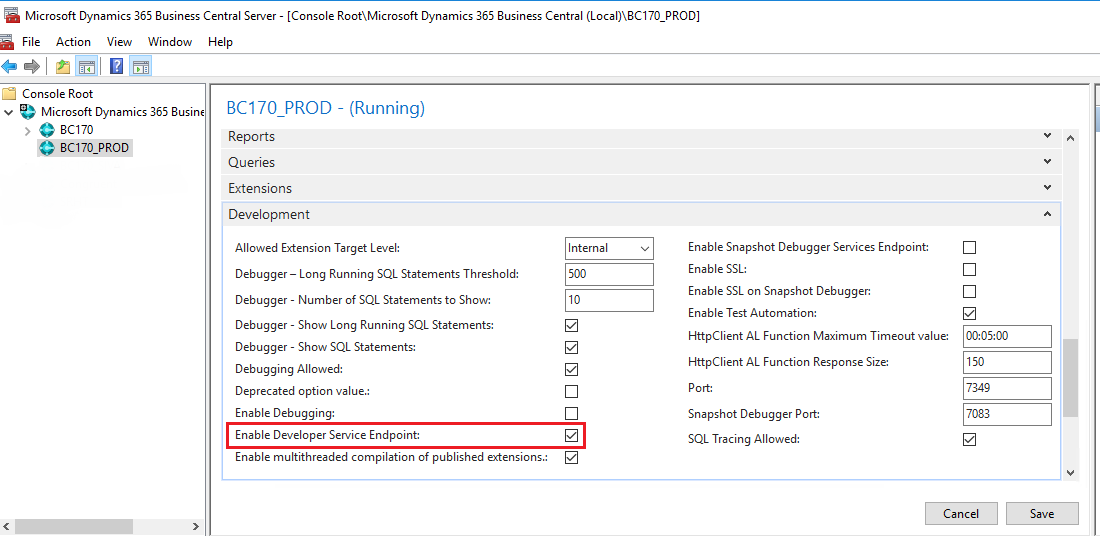
Step 7: After enabling the developer service endpoint restart your service
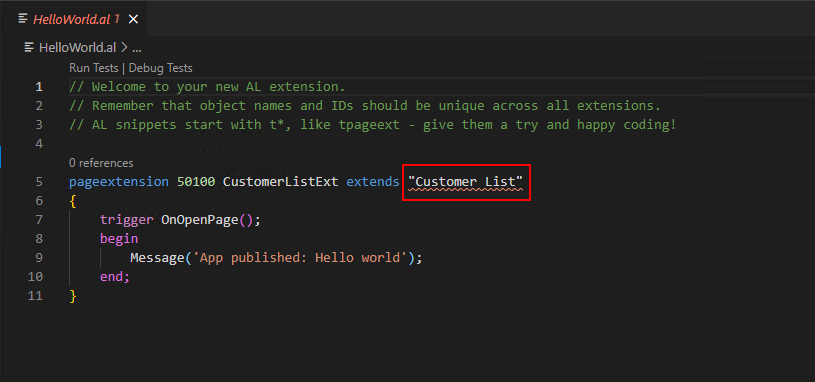
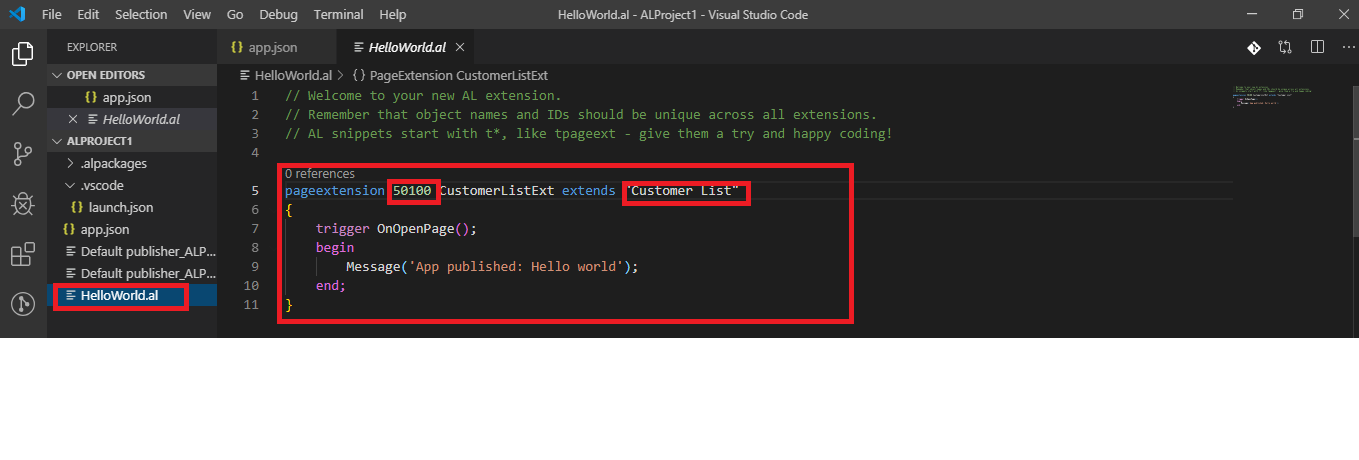
Step 8: After making the above changes, open the previously created project in VS code. The error will be viewed in the sample helloworld program. Use shortcut key CTRL + SHIFT + P to open the command pallet and search for the command AL: Download symbols
Step 9: On running the above command, the objects and extensions of Dynamics 365 Business central will downloaded
Step 10: Open Dynamics Business central administration and select your server instance (Ex: BC170_PROD) and click edit
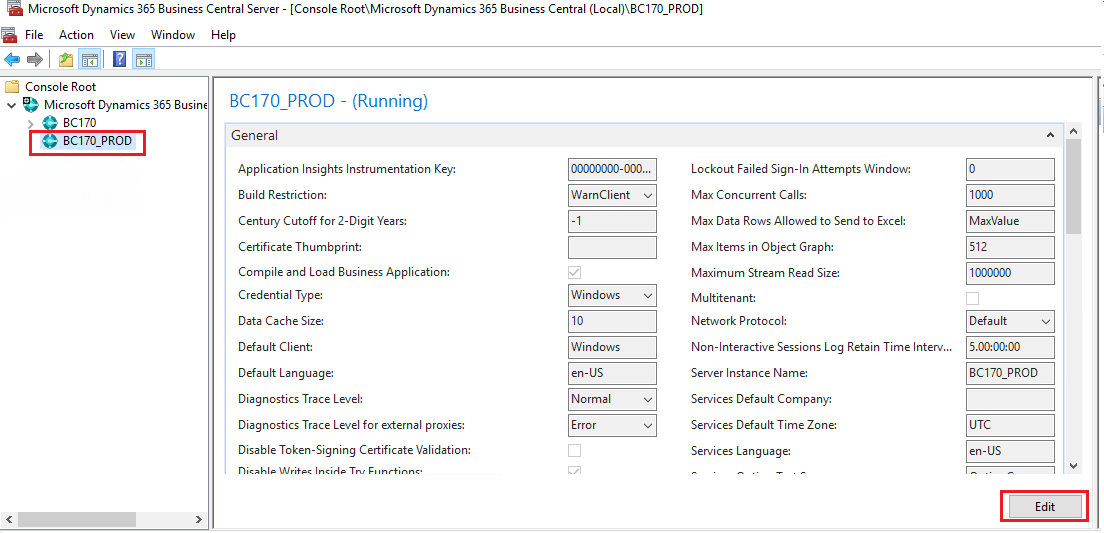
Step 11: Set your Web Client Base URL (Ex: http://localhost:8080/BChow-to-connect-visual-studio-codesual-Studio-code/9.png" alt="Connecting Visual Studio Code With Business Central On-Premise-9"/>
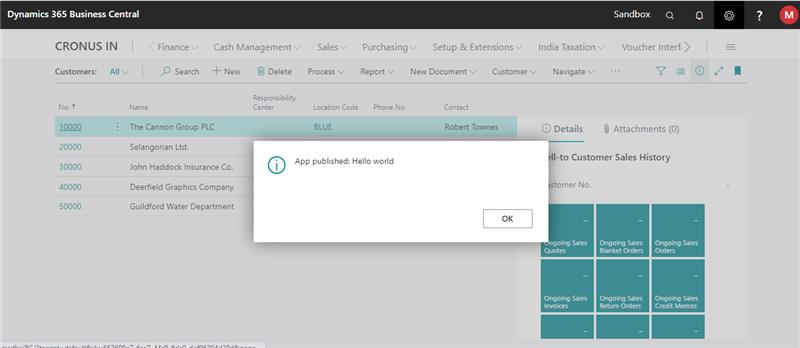
Step 12: To publish the project, use shortcut key F5 in VS code. Once published, the following output will be viewed in Business central
Contact us to know more about our Dynamics 365 Business Central services.